Published
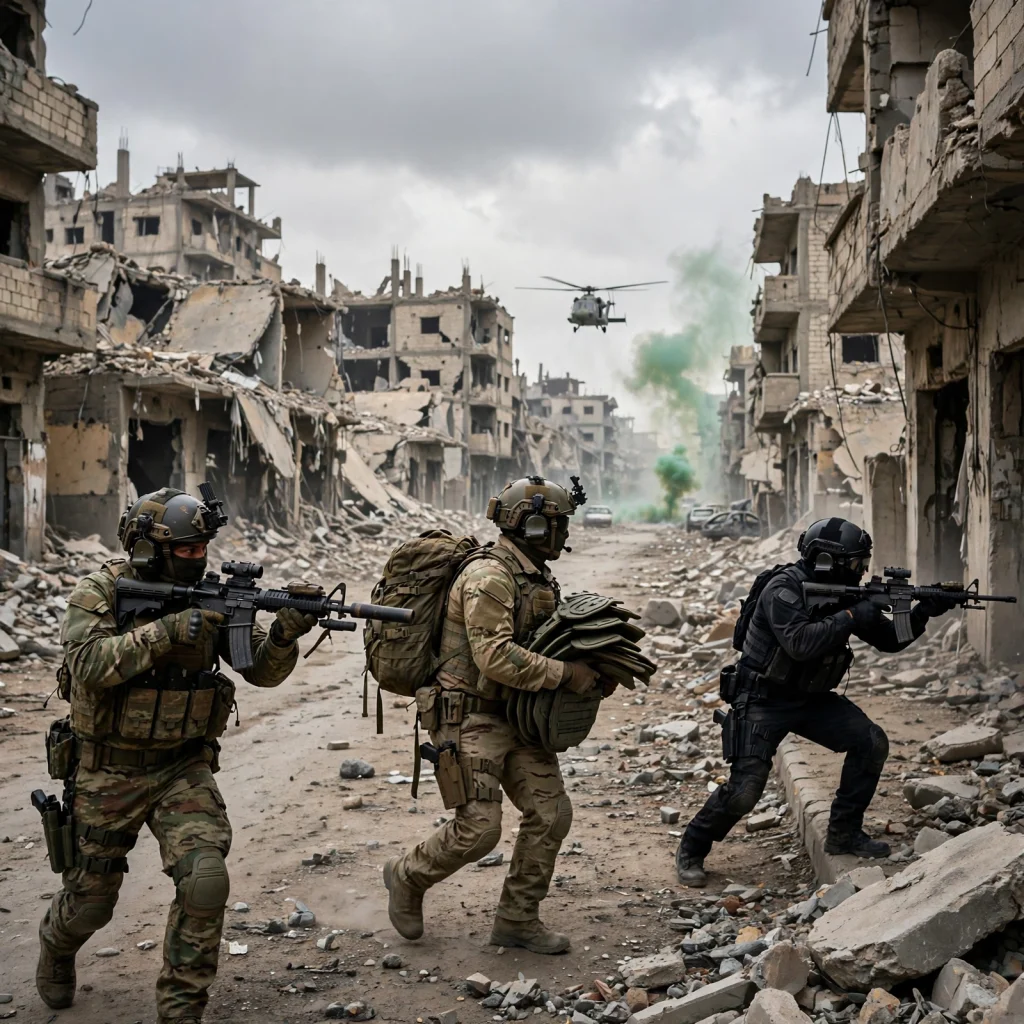
Direct answer: Start cheap. Use the Free Loadout or a gun you already extracted, learn one route out of Hajin, and save your cash until you hit DMZ level 10 and can actually use the Gunsmith. When you can build a kit, the beginner-friendly paid setup guides keep pointing to is an M4 paired with an ISO Nightshade, with a Smoke Grenade, a Sticky Grenade, and an Armor Box. That pairing covers the two fights you will actually have in DMZ: outside at rifle range, and inside a building at close range.
Modern Warfare 4 launched October 23, 2026, on PlayStation 5, Xbox Series X|S, PC, and Nintendo Switch 2, with DMZ early access for digital pre-orders from October 20. DMZ is not free-to-play this time. It comes with the paid game, and there is no PS4 or Xbox One version, according to the beginner guides that tracked the launch.
Watch: Call of Duty: Modern Warfare 4 | DMZ Worldbuilder Trailer
Activision’s Worldbuilder trailer introduces DMZ’s setting. It is not a weapon-damage test or proof of a particular beginner loadout.
Video by Call of Duty. Loads from YouTube only when you press play. Watch on YouTube
How DMZ works in Modern Warfare 4
Forget the old DMZ for a minute, because a few of the habits from that version will trip you up here. Activision calls this one action extraction, and the loop is simple to say and harder to pull off: go into Hajin, loot and do jobs, then get out with the gear still on you.
You start and finish every run at the Forward Operating Base, the FOB. That is where your stash lives, where you pick an operator, and where you sort a loadout before you deploy. At first you have two Active Duty operator slots, and Vault Edition owners get three from the start, according to the launch guides. Your stash starts at 40 items and 12 weapons, and your bank starts capped at $100,000, with upgrades later raising that to $250,000, $500,000, and finally $1 million.
A deployment puts you in Hajin with 59 other players, split into 20 squads of up to three. You can queue solo, duo, or trio, and matchmaking prefers squads your size, but a solo can still run into a full trio. There is no PvE-only option and no offline solo mode, so every run has real players in it whether you want a fight or not. Proximity chat is on, which means nearby squads can hear you. A standard deployment gives you 30 minutes before radiation starts spreading across the map.
You arrive with an empty backpack. You loot desks, containers, duffel bags, tables, and bodies, and you keep what you extract with. Weapons dropped by AI are often broken, marked with a red square on the weapon card, so expect a damaged optic or a smaller magazine on a lot of what you pick up. Every point of interest has a threat level from 1 to 5, shown in the top right of the HUD when you walk in. Higher threat means more AI, harder hits, and more armor on them. Gunfire and alarms bring a response and push the threat up. If a fight gets out of hand, break line of sight and back off. The area calms down once you disengage, and that is usually smarter than trying to win a fight you did not need.
There are three ways to pick a run. Story Missions are scripted jobs with a briefing, six at launch, and they keep going past where the campaign ends. Dynamic Operations are randomized multi-step jobs that walk you across the map, with a Supply Drop for each step you finish in one deployment, and each drop after the first is rarer. Free Roam has no mission attached, which makes it the best first choice. You can still trigger jobs in the field through phones and radios, and side jobs like activating a UAV Tower or climbing a Lieutenant tower can show up in any mode.
Getting in is free if you pick Ground infil, and that is the right pick early. The paid infils listed in the guides run $5,000 for a Polaris Dagor, $25,000 for an LTV, $50,000 for a helicopter, and $100,000 for a plane, with the helicopter infil locked until you finish the Story Mission Operation Grid Assault. Do not spend that cash before you know the map.
Getting out is where most runs fall apart. Each match has three random helicopter exfil zones marked with green smoke, and the ones closest to the radiation shut down first. Clear the area first, stand at the green smoke, call the helicopter, and hold the landing zone until it lands. Board it and stay put until the timer on screen hits zero and the Extraction Successful screen shows. Green smoke marks every exfil site, so rival squads know where to look while you wait. Emergency flares and Fulton balloon devices are alternate ways out, and finishing the Sky Heist dynamic op lets a squad fly its own heavy exfil helicopter, with teammates shooting from the cargo ramp.
Dying costs you what you carried. Your operator goes Missing In Action, but that operator does not expire. You can rescue them with Traits intact using cash from your bank, starting at $15,000, and the price goes up for higher-level operators. A lot of players run a low-level operator to earn the rescue fee, which is a sensible habit. Death does not reduce XP, and a failed run still gives you an After Action Report, with a FAILED TO EXFIL screen, even though the gear is gone.
One more system that shapes every fight: operator kills build a bounty on your dog tag. At four operator kills you go Wanted, and your location goes on the Tac Map for enemy players. Your bounty clears when you die, and you can spend cash at a Bounty Station to bring it down or buy intel on Wanted players. Squads can also call a temporary Truce, which puts a white flag over allies until someone leaves the area or downs another player.
The one thing beginners get wrong about guns in this DMZ
In Modern Warfare 4, you cannot just walk into the Gunsmith on day one and buy any gun you like. Two separate unlocks stand in the way.
First, the Gunsmith itself unlocks at DMZ level 10. DMZ has its own 1 to 70 level track, separate from the 1 to 55 multiplayer track. XP you earn in DMZ also feeds your overall 1 to 55 progression, but XP from multiplayer or Warzone does not count toward your DMZ level, according to Activision’s progression blog. Other early FOB unlocks in the same track are the 3D Printer at level 2, the Vendor at level 5, and the Dog Tag Case at level 20, according to a guide citing that blog.
Second, even with the Gunsmith open, buying a base weapon again and again needs that weapon’s Weapon Manual. You loot the manual in Hajin, usually from safes and military containers or weapon lockers, and you have to extract with it. Guides stress putting it in a Secure Slot if you have one, because that slot protects the item that matters most if you fail to extract. Once the manual is banked, you can buy that base weapon at the Gunsmith with DMZ Cash as often as you want. Blueprints work a little differently: each blueprint you own gives you one free use in DMZ, and if you lose that weapon you can buy another copy at a discount instead of getting unlimited free replacements.
That is why the old insured weapon and contraband labels from earlier DMZ versions do not map cleanly onto this game, and this draft does not pretend they do. I could not verify a Modern Warfare 4 insured-slot cooldown from the official or guide sources I checked, so I am not claiming one exists here. What I could verify is the system above: manual first, then repeat Gunsmith purchases with DMZ Cash, with extracted guns stored in your stash and attachments costing cash on top of the base gun.
A Gunsmith-built weapon supports up to five attachments, plus an Apex Attachment slot. A weapon you find in Hajin can have up to eight attachment slots, which is why a good looted gun is often better than a stock built one, and why guides keep telling players to check what is actually dropping in their games. Weapon levels and attachment progression are shared with multiplayer, so leveling a gun there also helps in DMZ.
Prices are the one place the guides do not agree, so take them as a range, not a promise. One guide quoting Activision puts a base M4 at around 5,000 DMZ Cash. Another puts it at 6,250 DMZ Cash. Attachment slots and attachments cost cash separately, and the cost goes up as you unlock more slots, so the final slot can wait if buying it would leave you broke.
The beginner loadout, in order
Do not start by building four expensive kits. Build one dependable kit, and only after you can afford to lose it without going broke.
Step 1: Free Loadout or an extracted gun
If cash or supplies are scarce, turn on Equip Free Loadout in the Ready Up lobby. You deploy with random basic weapons, armor, and meds, without using your stored gear, and you still keep the equipment after an extraction, according to the guide that tested it. An extracted gun you already like is just as good, and it costs nothing. This is how you learn Hajin without paying for the lesson.
Step 2: The first paid kit to aim for
This is the pairing guides recommend first for general use, from PlayHub’s DMZ loadout guide, updated October 21, 2026. It is a third-party guide recommendation, not an official Activision loadout, and it assumes you have the Gunsmith open and the manuals to buy these guns.
M4 as the main weapon, ISO Nightshade as the second. Smoke Grenade as tactical, Sticky Grenade as lethal, Armor Box as field upgrade. Trait priorities: Quick Fix and Faster Revive.
Why it works for a beginner is pretty plain. The M4 handles outdoor fights and the trip between positions. The Nightshade handles interiors and close pushes, where a rifle feels long and slow. The Smoke Grenade gives you a way out of a bad push and a way to revive a teammate without standing in the open. The Armor Box covers the whole squad’s plates, which matters more in a long DMZ run than in a quick multiplayer match, where you respawn anyway.
The full M4 build in that guide is: FSS IS300 muzzle, 18-inch LE Crosswind barrel, KV Corsac Holo optic, 60 Round Drum magazine, SZ Gen.6 PEQ laser. Going from the stock 30-round magazine to the 60 Round Drum doubles how many kills you can get before a reload, but the reload itself gets slower, so the guide’s own advice is to swap to the Nightshade if someone pushes while the rifle is empty. Two level notes from that guide, citing its attachment listings: the drum sits at weapon level 39 and the KV Corsac Holo at level 69. Use an optic you already like while you work toward the finished build. Buying a sight you cannot track through is not an upgrade.
Step 3: Only after that kit is paid for
Three other pairings from the same guide, for when you have a specific job in mind. Do not build all of them at once.
For PvP, Han 86 with a PPSh-41, Smoke Grenade, Drill Charge, and Portable Radar, with Combat Resistance and Thermal Padding as trait priorities. The idea is to open at rifle range with the Han, then switch to the PPSh before entering a building. The Drill Charge gives you something to do against a player holding a room, and the Portable Radar is worth saving for building fights.
For boss runs and AI-heavy jobs, Type 73 with an X-58 Nyx, Smoke Grenade, Thermite, and Munitions Box, with Quick Fix and Faster Revive. The Type 73 starts with a 60-round capacity, so you can keep shooting through a lot of AI between reloads, and the Nyx is the practical weapon for when another player shows up. In a squad, at least one Munitions Box is worth its slot, and someone else can carry the Armor Box so both needs are covered.
For sniper support, KG-7 Vulcan with an M4, Smoke Grenade, Proximity Mine, and Armor Box, with Thermal Padding and Combat Resistance. The sniper build in that guide is: TT Solgae F7 muzzle, Haebang RMT762 29-inch barrel, 7.62x54mmR High Velocity ammunition, KT76 Light Bolt, Haebang YNC-45 comb. Put the mine on an approach you cannot watch while scoped, and still check that route yourself. A teammate watching the stairs is more reliable warning than any trap. The sniper covers a teammate crossing open ground or opens a fight, and the M4 handles the AI and anyone who gets too close for a scoped shot.
For traits and equipment in general, the same guide puts Quick Fix at the top for killing several AI and players without stopping to heal, and Faster Revive paired with smoke as a strong squad combination. Thermal Padding is the pick against UAVs. For medical supplies, its baseline is two Medkits and two Bandages, with more for a longer operation, plus a vest, a usable backpack, and a Self-Revive if you have one for a high-budget build.
A spending order that will save beginners some pain, again from that guide: medical supplies, a vest, and backpack space first, then a usable main weapon and ammunition, then the one attachment that fixes your biggest problem with a gun, like ammo capacity or an awkward optic, and only then a second weapon and the remaining upgrades.
What to avoid early
Do not take your best kit into a high-threat area you have not scouted. Threat level 5 areas, bosses, and Lieutenant hunts are not beginner content, even if the loot looks good. Lieutenants named in the guides include Bale, The Doctor, Iskra, Jin-Tae, and Scavenger, with a $10,000 bounty each, and Commanders include Colossus, Deathstalker, and an NK Main Battle Tank. Defeating Commanders in high-level areas usually takes a coordinated squad with strong gear, and a minigun Juggernaut patrolling with an armored helicopter can end a run fast.
Do not chase every gunfight. Four operator kills make you Wanted, and that puts your location on the map for everyone else. If you have good loot in your backpack, getting out is worth more than one more fight.
Do not spend all your cash on the last attachment slot. Guides warn that the final slot can wait, because buying it and then dying with nothing left to buy a replacement gun is a worse position than running a four-attachment gun with cash in the bank.
Do not ignore the Firing Range. It is open from your first visit to the FOB, and guides suggest testing a build there before a match. Activision prints no damage-per-second table for these guns yet, according to one launch guide, so the range is where you find out what your build actually does at 10, 25, 50, and 100 meters, instead of learning it in a fight.
Do not assume a gun you leveled in multiplayer is automatically buyable in DMZ. One guide is blunt about this: even a weapon fully leveled in multiplayer still needs its Manual before you can buy replacements in DMZ. Leveling helps with attachments, but the Manual is the gate for repeat purchases.
FAQ
What is the best beginner loadout in Modern Warfare 4 DMZ?
Start with the Free Loadout or an extracted gun. When you can use the Gunsmith, aim for an M4 with an ISO Nightshade, Smoke Grenade, Sticky Grenade, and Armor Box, with Quick Fix and Faster Revive as trait priorities.
When does the Gunsmith unlock in DMZ?
At DMZ level 10. DMZ levels run 1 to 70 on their own track, separate from multiplayer levels 1 to 55.
How do you unlock a weapon to buy again in DMZ?
Loot its Weapon Manual in Hajin and extract with it. After that, you can buy that base weapon at the Gunsmith with DMZ Cash. Attachments and slots cost cash separately.
Can you carry two primary weapons in DMZ?
Yes. Activision’s own launch guide says you can carry two primaries, two secondaries, or one of each, with extra weapons if you have a specific Weapon Backpack type.
What happens if you die in DMZ?
You lose what you carried, and your operator goes Missing In Action. You can rescue that operator with Traits intact for cash starting at $15,000, or recruit a level 1 replacement. Death does not reduce XP.
How do you extract in DMZ?
Go to a helicopter exfil zone marked with green smoke, clear the area, call the helicopter, hold the landing zone until it lands, board it, and stay put until the timer hits zero and Extraction Successful shows.
Is there a PvE-only DMZ mode?
No. Every deployment mixes AI and real players, with up to 60 players in 20 squads. Stealth, threat ratings, and UAV-related traits can lower your chances of a fight, but they do not remove other players.
What is the best weapon for boss runs?
For AI-heavy jobs, guides point to a Type 73 LMG with an X-58 Nyx as backup, Smoke Grenade, Thermite, and a Munitions Box. Boss fights still need a coordinated squad and strong gear, so do not take that kit into a Commander fight alone on your first runs.
The bottom line
Learn Hajin on a free kit, get out alive a few times, and let the cash build up. Hit level 10, bank the M4 manual when you find it, and build one rifle-and-SMG kit you can afford to lose. That one kit, plus a habit of leaving before the run turns bad, will carry a beginner further than any expensive build bought too early.
Related: Modern Warfare 4 Known Issues: Official Launch Workarounds
Sources
- Activision, Call of Duty: Modern Warfare 4 DMZ official page: https://www.callofduty.com/en/modernwarfare4/dmz
- Activision, Ready for Launch: Modern Warfare 4 Progression and Prestige: https://www.callofduty.com/blog/2026/10/call-of-duty-modern-warfare-4-ready-for-launch-progression-prestige
- Activision, Ready for Launch: All Modern Warfare 4 Operators, Weapons, Equipment, and Multiplayer Create-a-Class Features: https://www.callofduty.com/blog/2026/10/call-of-duty-modern-warfare-4-launch-multiplayer-operators-weapons-equipment-create-a-class
- AllThings.How, How DMZ Works in Call of Duty: Modern Warfare 4 (Beginner’s Guide): https://allthings.how/how-dmz-works-in-call-of-duty-modern-warfare-4-beginner-s-guide/
- AllThings.How, How to Unlock the Gunsmith and Weapons in Call of Duty: Modern Warfare 4 DMZ: https://allthings.how/how-to-unlock-the-gunsmith-and-weapons-in-call-of-duty-modern-warfare-4-dmz/
- PlayHub, Modern Warfare 4 DMZ Best Loadouts: https://playhub.com/blog/call-of-duty/modern-warfare-4-dmz-best-loadouts-907160
- PlayHub, Modern Warfare 4 DMZ Weapon Tier List: https://playhub.com/blog/call-of-duty/modern-warfare-4-dmz-weapon-tier-list-880098
- GamerFuzion, Modern Warfare 4 DMZ Gunsmith Guide: Manuals and Slots: https://www.gamerfuzion.com/modern-warfare-4-dmz-gunsmith-weapon-manuals-32-launch-weapons-attachment-slots/
- GamerFuzion, Modern Warfare 4 DMZ Level Unlocks: All 70 Levels: https://www.gamerfuzion.com/modern-warfare-4-dmz-level-unlocks-all-70-levels-stations-recipes-gear/
- Destructoid, How to Find Weapon Manuals in Modern Warfare 4 DMZ: https://www.destructoid.com/how-to-find-weapon-manuals-in-modern-warfare-4-dmz/
- Inven Global, DMZ Worldbuilder trailer report: https://www.invenglobal.com/articles/26828/recon-the-north-korean-occupied-dmz-call-of-duty-modern-warfare-4-releases-dmz-lore-trailer
Leave a Reply